

In this post I’ll go over how I made my own Eurorack case for a modular synthesiser – the start of my modular journey.
I’m not a woodworker and I use very basic construction techniques – that anyone can do with minimal tools. Let me show you…
Get the wood
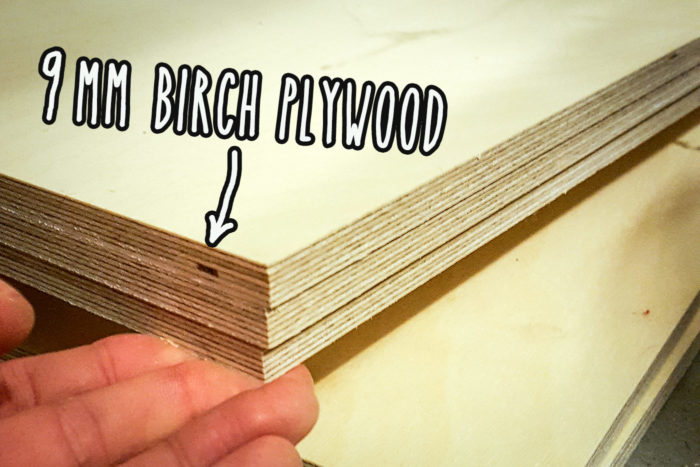
I started with high quality 9mm birchwood. I think it’s important to get a high quality plywood that doesn’t have any voids.
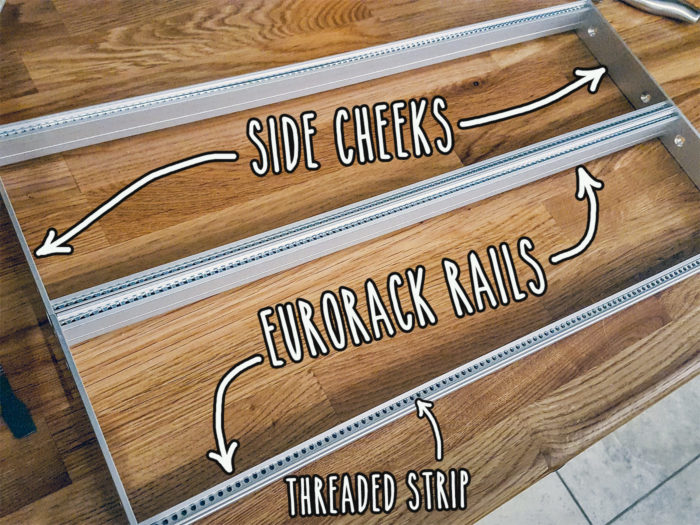
And the Eurorack rails
This is what the case will be built around. The picture below consists of 4 rails, 4 end pieces and 4 nut strip inserts.
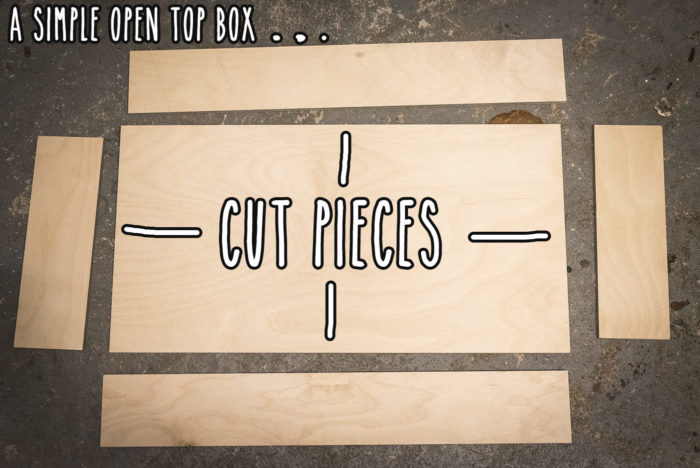
Prepare the wood
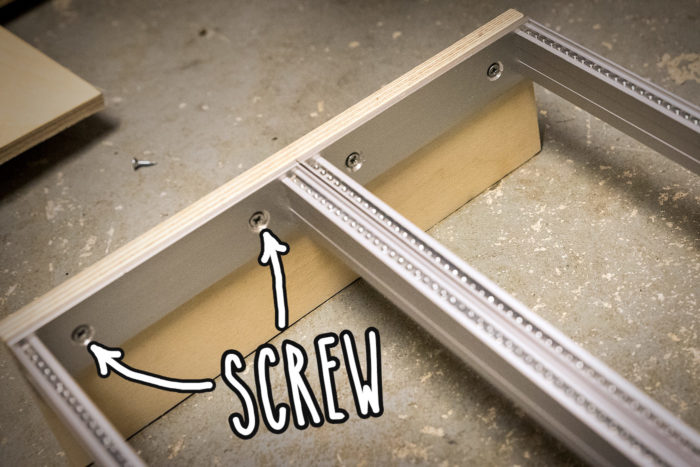
Fix rail end cheeks to the case’s site pieces
I decided to literally build the box around the frame, rather than build the box and then fit the frame inside. This should get a much better fit and minimise the risk of any gaps between the frame and the wooden case.
Fix the sides together
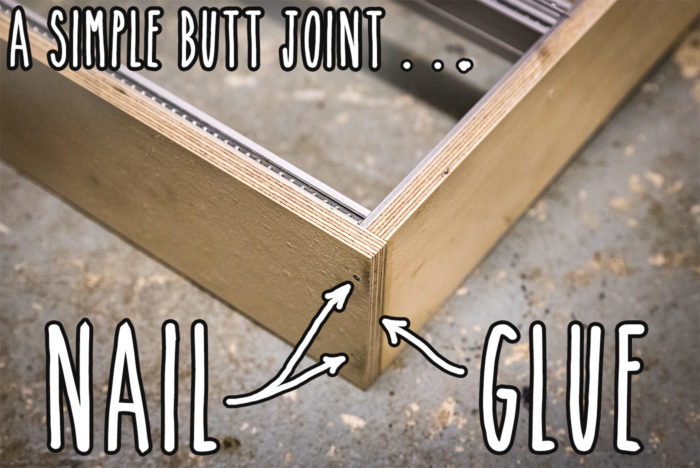
I have no idea how to join wood in any other way but a simple butt joint. As long as the wood is cut at perfect right angles this will make a decent joint. I glued and knocked 2 very small nails in to hold it.
Apply glue and fit the bottom panel of the case
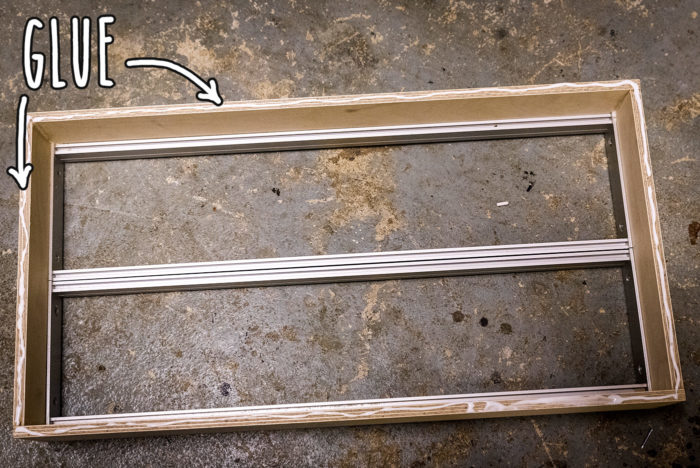
Assemble the other pieces
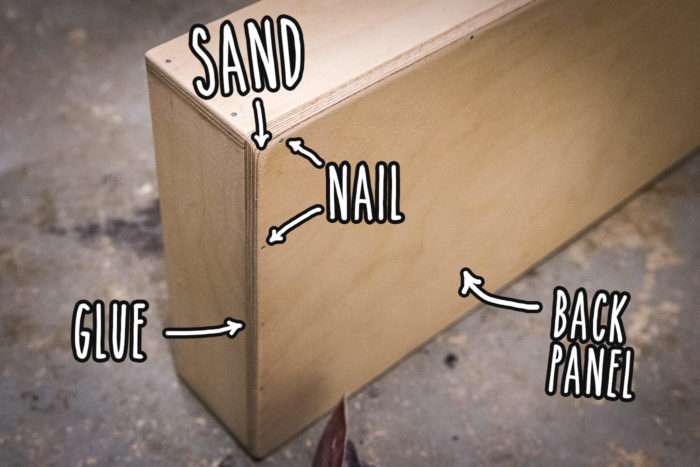
Assemble the lid part of the case
This is exactly the same process at the bottom part of the case except the lid is less deep
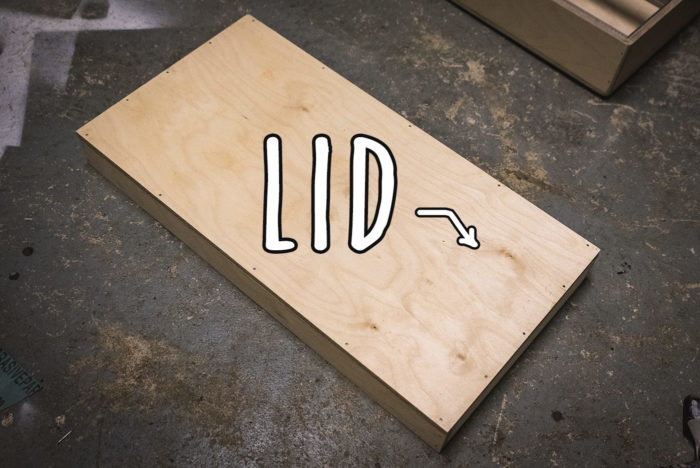
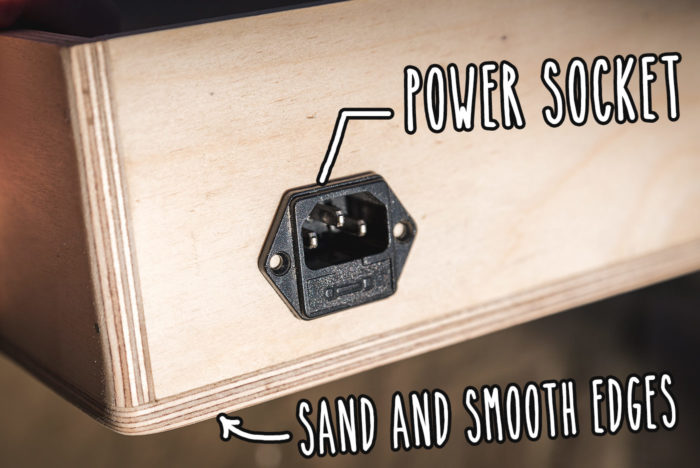
Sand and smooth
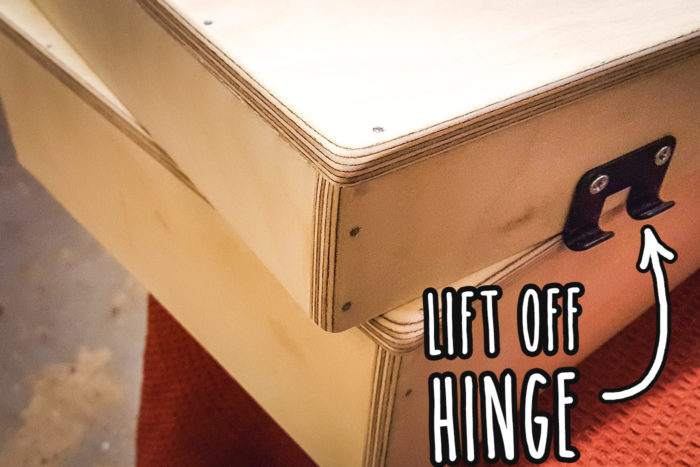
Fit hinges
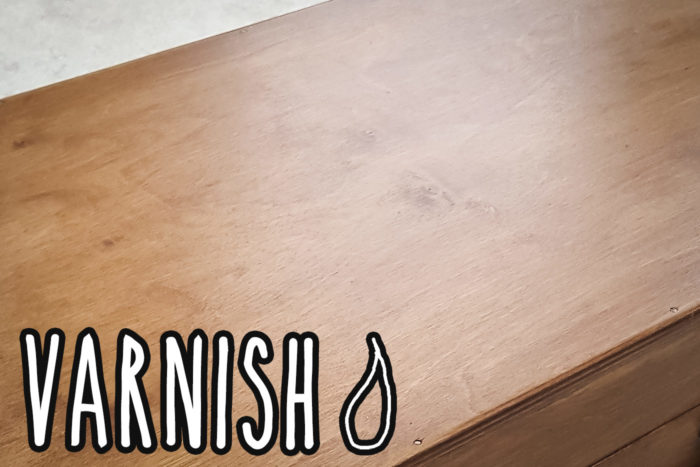
Varnish
I used some left over varnish I had lying around. It’s a water based that dries really fast and forms a really hard coating along with stained finish. This is probably the cheapest and easiest finish
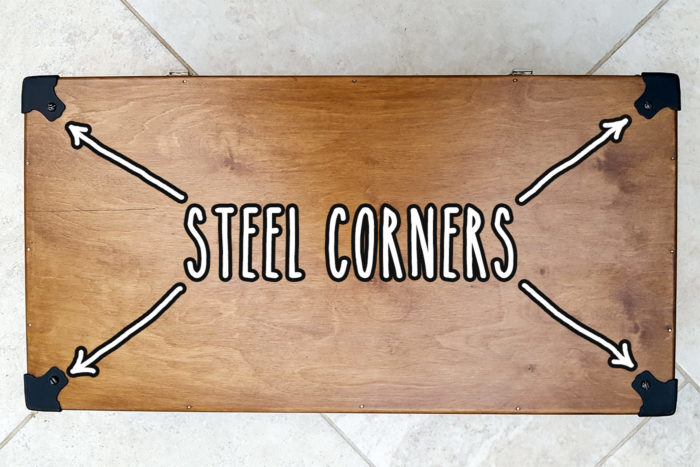
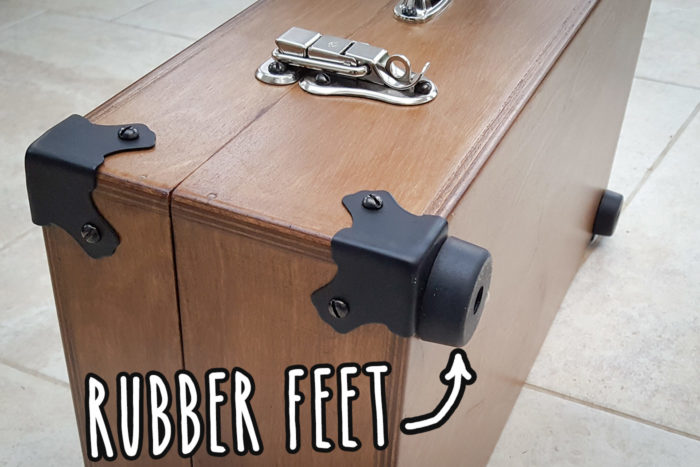
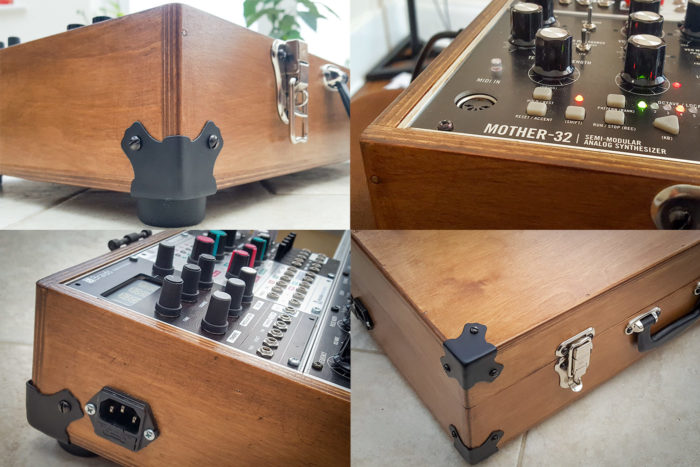
Fit protective steel corners
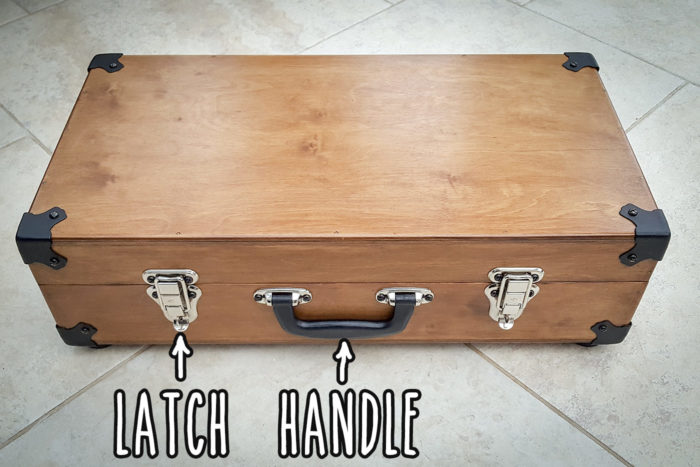
Fit handle and latches
Fit rubber feet
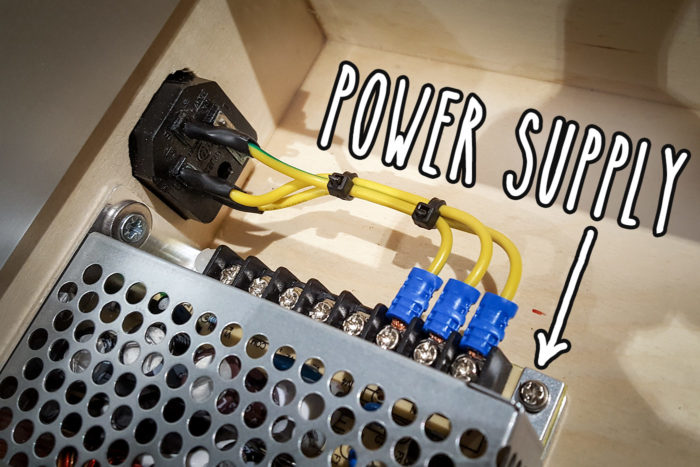
Fit power supply
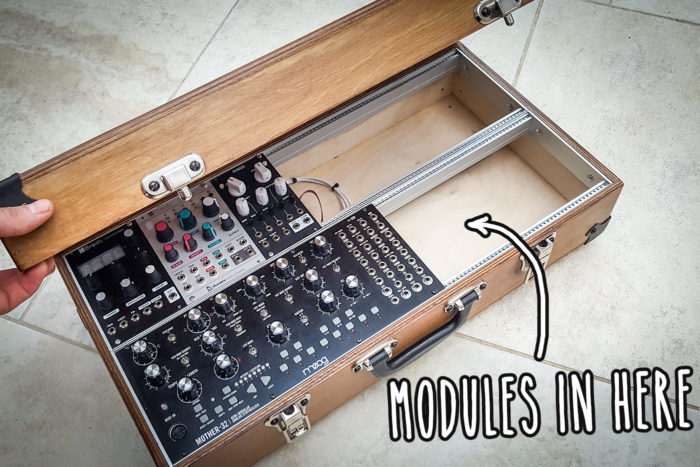
Put some modules in
The finished case
Dimensions 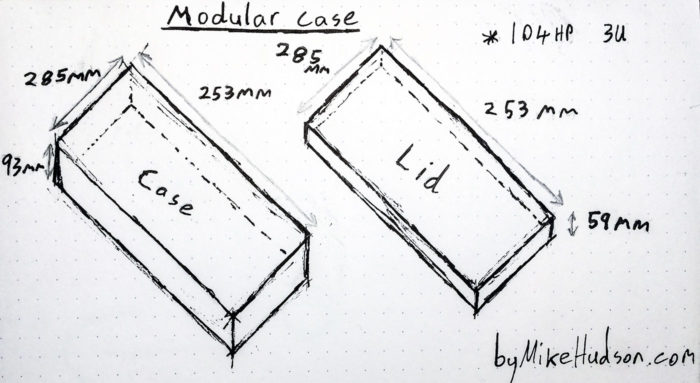
Materials used
- nails – very small tacks to hold the wood until the glue sets
- wood glue
- 9mm Birch plywood
- 8 corner pieces
- handle
- 2 latches
- 4 rubber feet
Conclusion
The case feels really solid and should last a long time. The only thing I would do different would be to have a bit more depth in the lid – it’s deep enough right now to keep the patch cables in place whilst closed, but not with stacked patch cables.