

This was one of those projects I wish I never started but I had to see it through. I certainly did not skimp on parts and bought the best swamp ash body and a Fender licensed maple neck. Its a really solid guitar and plays/sounds real nice!
My housemate bought a Fender Telecaster and I loved how it sounded and how it looked. I spent the next few months making my own… on the floor of my bedroom.
My DIY Telecaster spec:
- 1952 Telecaster unfinished swamp ash body (2 peice) – Ebay
- Allparts unfinished maple Telecaster neck – Allparts uk
- CTS potentiometers (tone and volume) – Axesrus
- Fender 3 way switch – Axesrus
- Kluson tuners – Ebay
- Wilkinson bridge – Axesrus
- Hand wound bridge and neck pickups – bits from http://www.stewmac.com/
- Bone nut – Axesrus
- Matt black pick guard (5 hole mounting 1950- 1963) – Axesrus
I got most the parts from http://www.axesrus.com. Their parts are definitely better than the Ebay stuff and a good price i’d say. For the neck I decided to spend the extra money and get a licensed Fender one from http://www.allparts.uk.com/
Build your own tele – an overview of my build
In this post I’ll go over how I made a Telecaster on the floor of my bedroom, with no real tools.
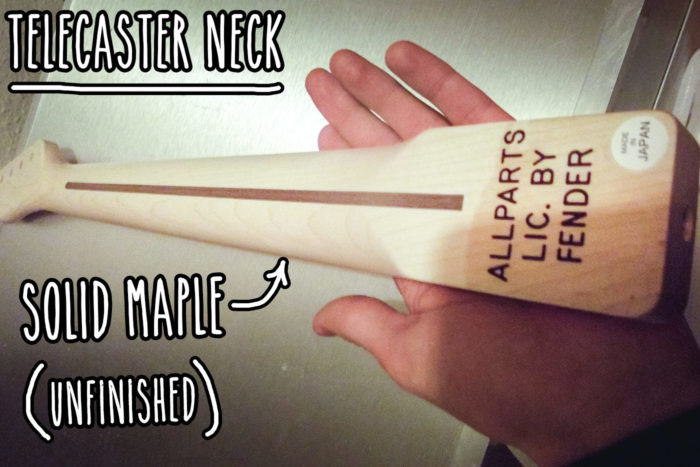
I started with an unfinished neck
Finish with oil
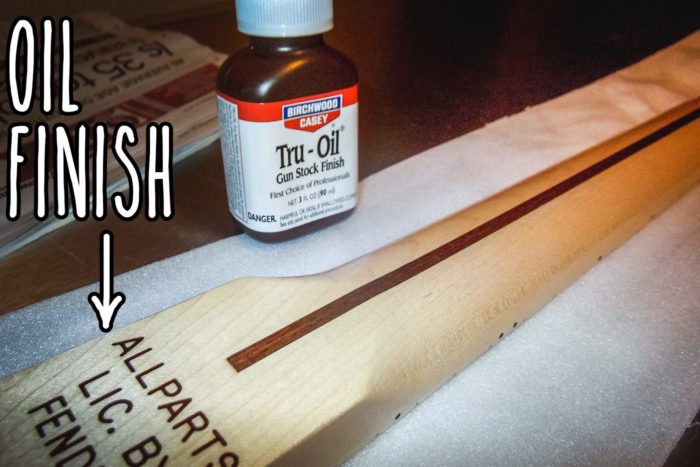
I started with an unfinished All-parts Telecaster neck. I sanded for a clean and smooth finish using 150 grit and finishing with 320. I used about 15 coats of Tru-oil for the finish, going over with 0000 wire wool between every few coats
Oil again… and again
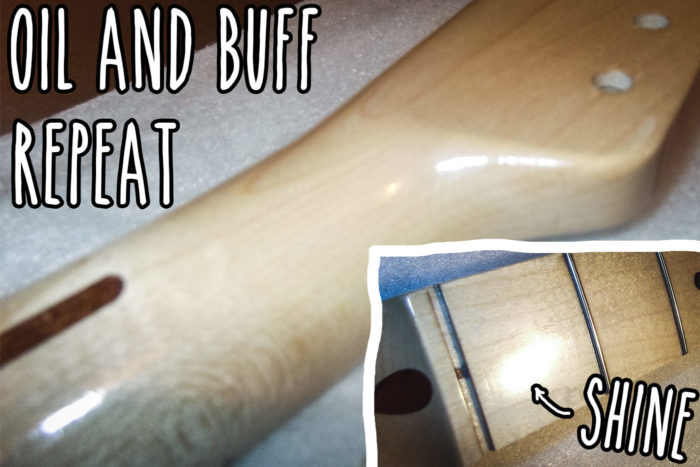
Look how nice this gets the neck! The Tru-oil buffs up pretty well but takes ages to cure hard. I made the mistake of wire wooling before the first coat of Tru-oil had properly hardened and had to start again. Learn from my mistake
After 3 weeks
After 3 weeks, the neck is finished. It just needs holes drilling for machine heads, string tree and heel
The body
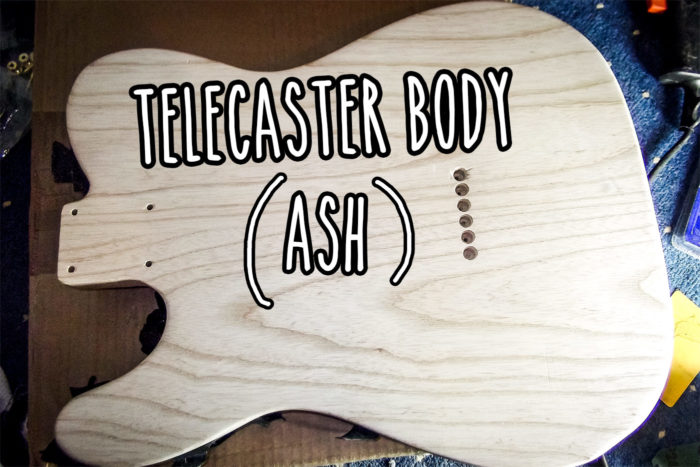
Here’s the body. Its a 52 Telecaster with counter sunk string ferrules. The wood is swamp ash – it’s very soft and easy to dent with finger nails
I marked out the holes to drill into the neck
This is quite a deep body. I wasn’t sure the screws would go deep enough to attach the neck. It seems ok though
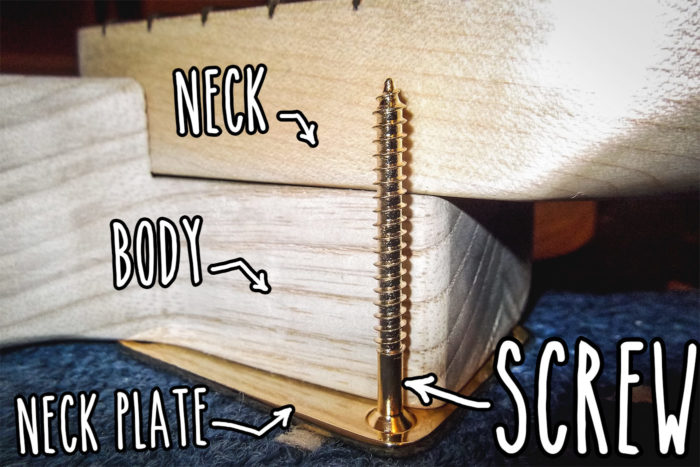
And drilled
I used a pillar drill to ensure the holes are completely straight and at right angles to the back of the neck. I started with a 2.5mm drill bit and then opened them up with the correct size
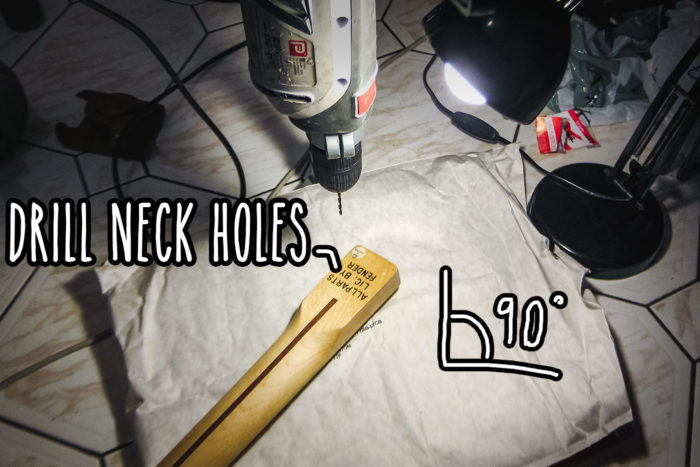
Sand and finish the body
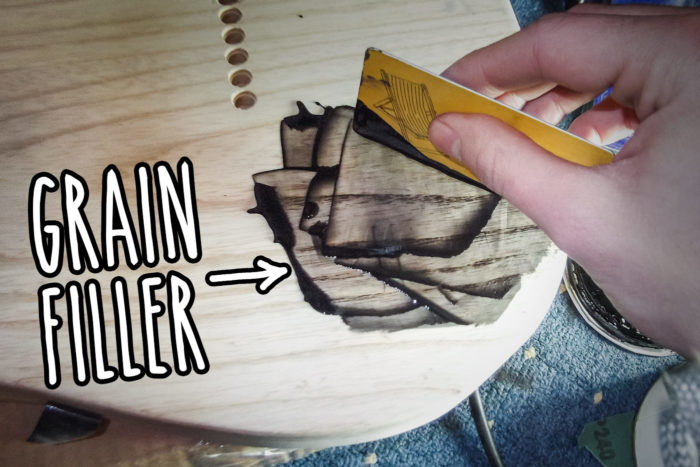
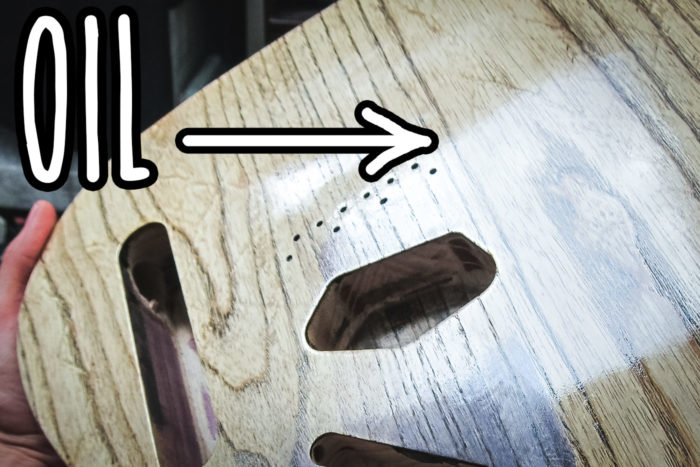
I like natural finished. After some research I decided to bring out the nice grain with an oil based dark grain filler (Jenkins Jecofill – http://www.jpennyltd.co.uk) and then finish with many coats of oil – the same oil as I used on the neck. Picture below is the grain filler being applied with a plastic card.
Sand back to taste
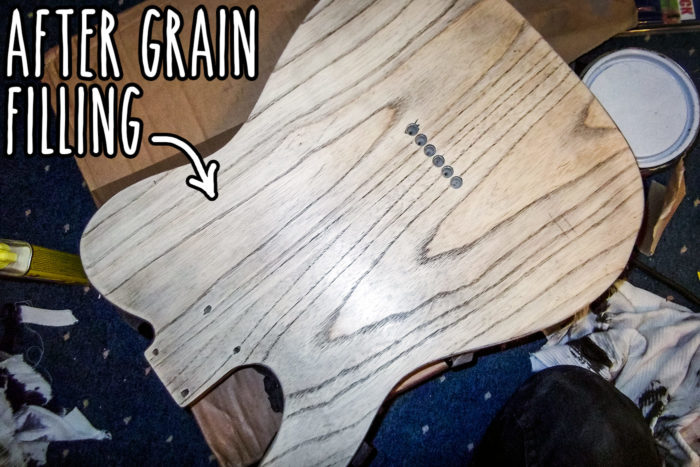
I sanded it back (grade 320) a little to get the effect I wanted – a dark accentuated grain that will show through an oil finish.
Finish with oil
I used the same oil as the neck (Tru-oil as pictured further up). I applied very thin coats with a clean cotton t-shirt. I applied loads of coats until I got the nice shimmering natural finish that I wanted. After each coat I waited at least 24hours before very lightly sanding with very fine paper. And on the final few coats I used a 0000-grade wire wool.
Now for the hardware
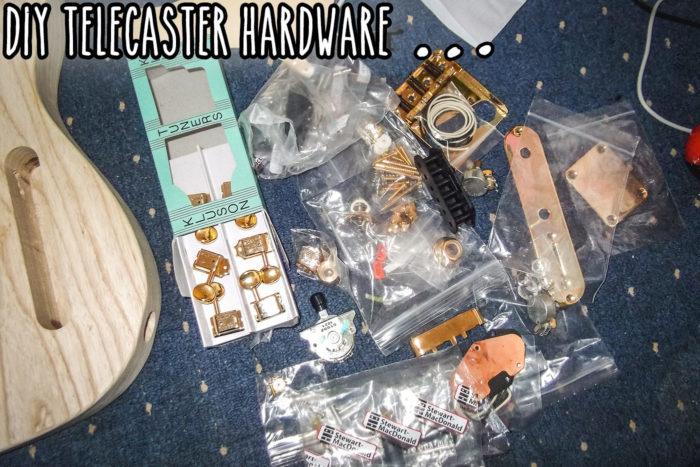
Here’s the hardware. Kluson tuners, Fender 3 way select switch, 250k CTS pots, Wilkinson bridge. I tried my best to buy good quality hardware. There’s no point making a guitar only to use poor quality pots, wire and mechanical components. I want this guitar to last a long time – like a Telecaster would
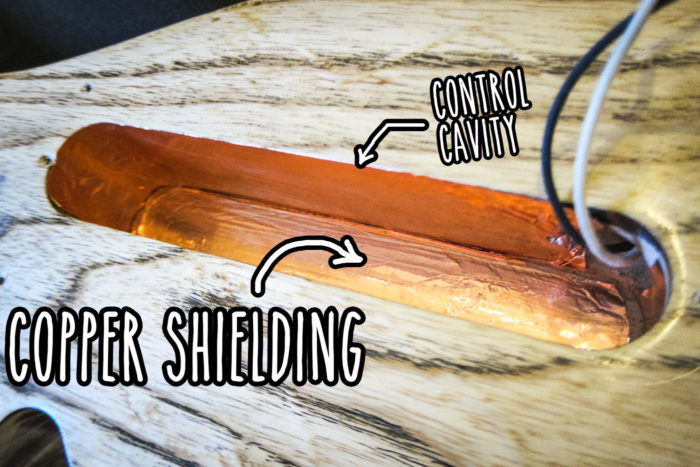
Copper shielding in the cavities
I stuck adhesive copper tape inside the control cavity and also the pickup cavities to help reduce electromagnetic interference
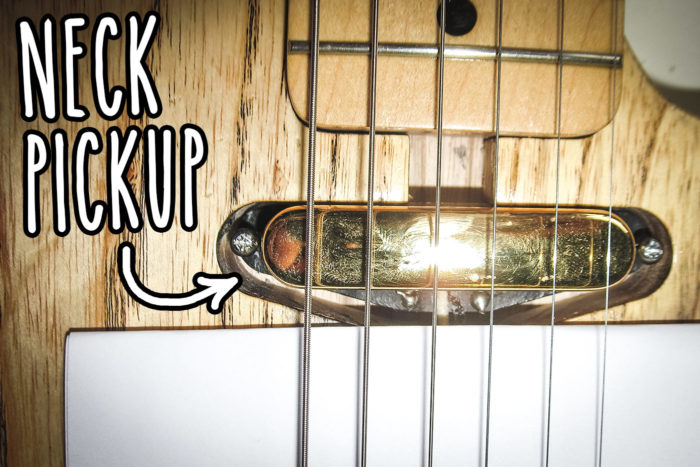
Fit neck pickup
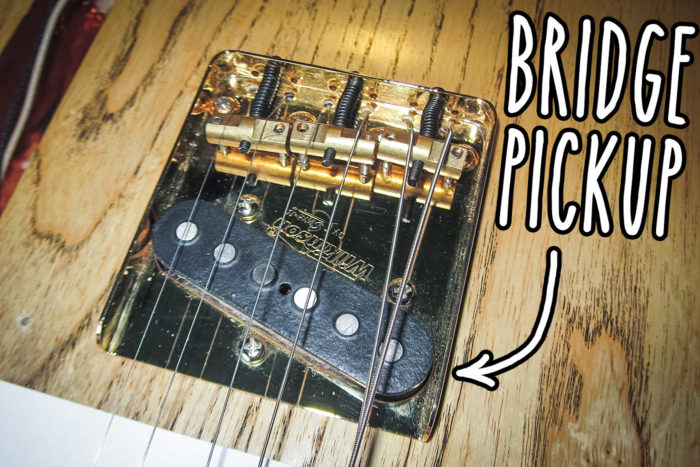
Fit bridge pickup
Align and secure neck
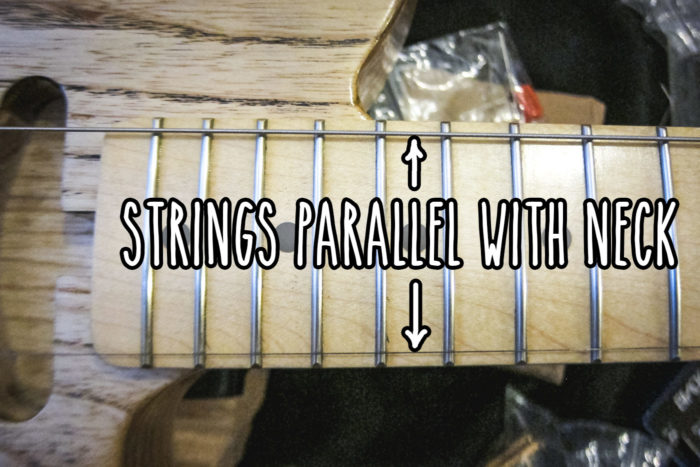
I made sure the neck was aligned by checking the strings were parallel to the neck all the way along. I then marked the four points to be drilled on the neck heel
Fit the nut
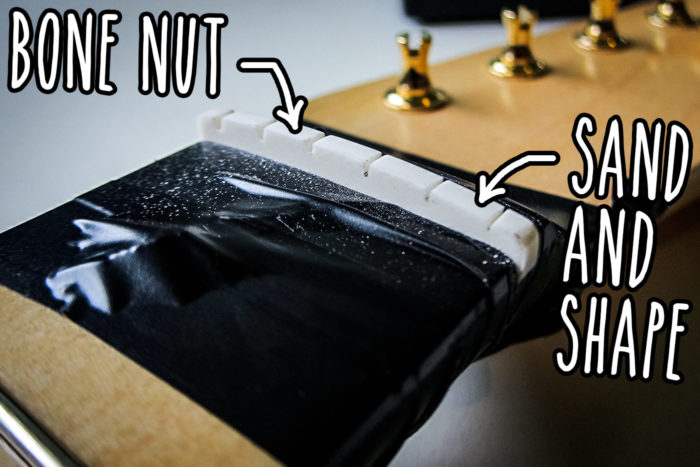
This is a bone nut. It needed a bit of filing and sanding to make it fit. I used a very small dot of wood glue to hold it in
The mess I made
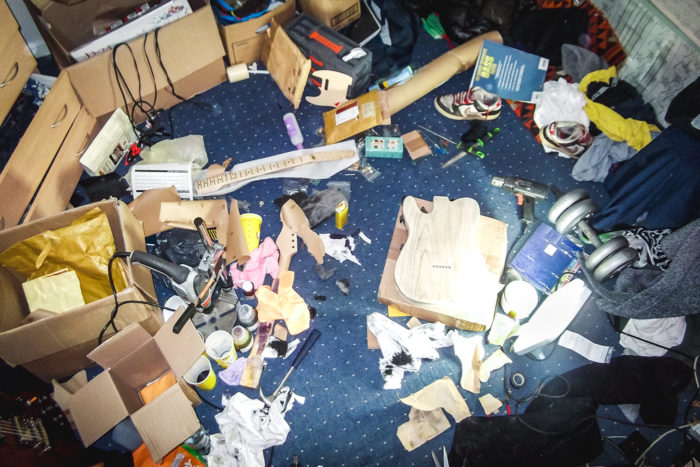
Here’s some of the mess i made. I had no workshop so bedroom floor had to do. Those steel wool bits get everywhere though – not recommended near clothes!!
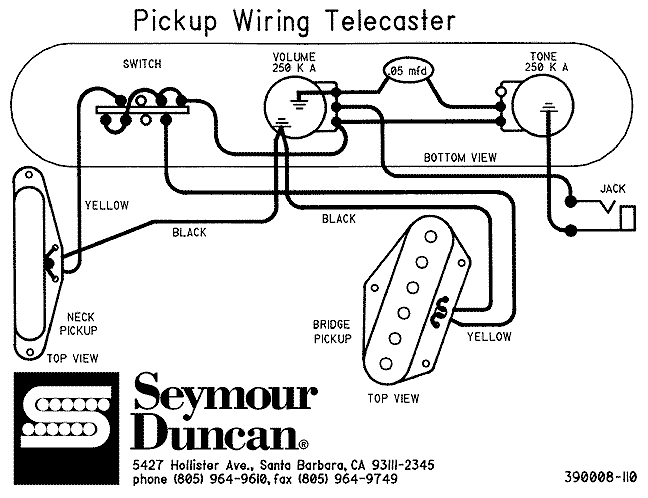
Wire the control plate
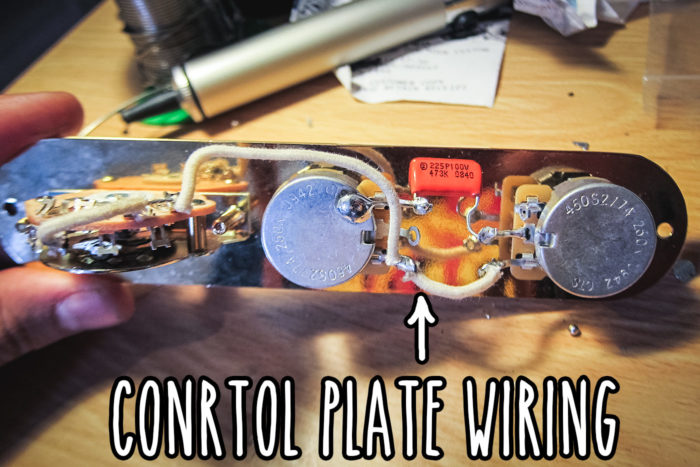
Here’s the circuit I used
The finished guitar
It feels really solid and plays nice! I love the range of sound I can get from this – from harsh twang to deep and mellow
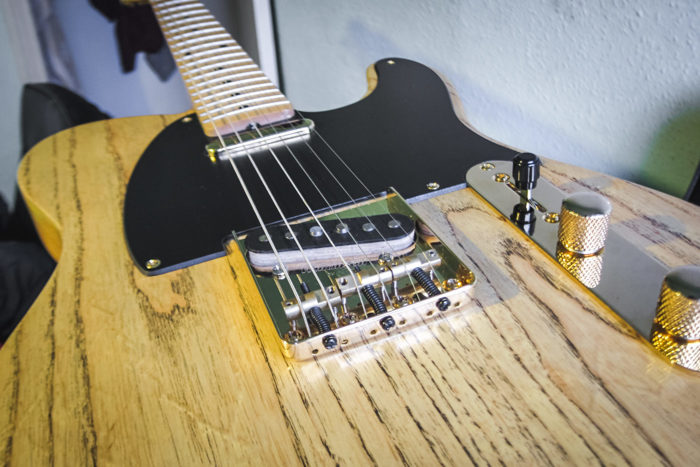
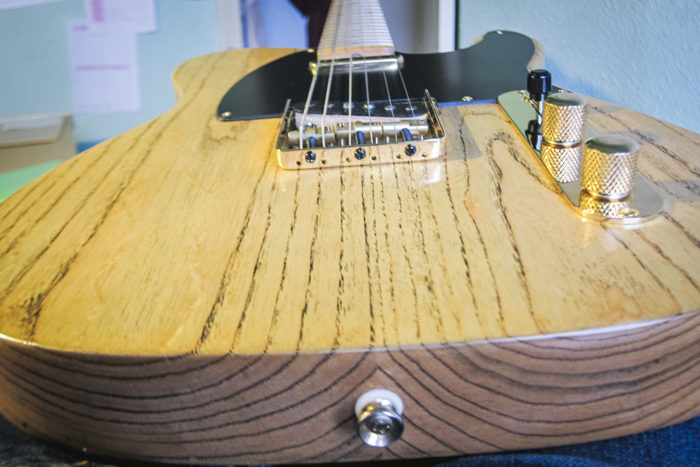
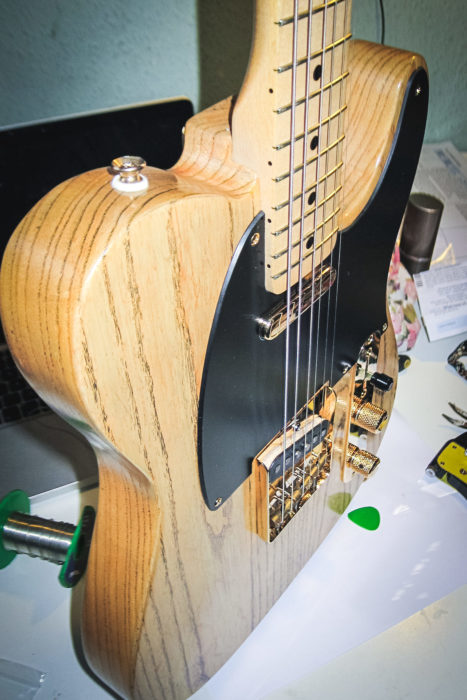
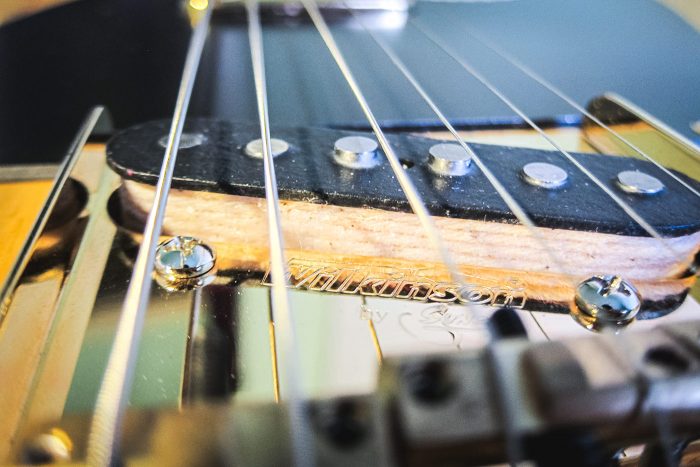
5 years later: I got a strap for it
Also see: Making guitar pickups
Rob Billeaud
Wise plan on just using a spot of glue to hold the nut in place. I see a lot of newbie builders slathering wood glue in the nut slot without thinking about the very real possibility that they’ll have to replace that in the future. Chipping all that gunk out of the slot is a pain. The string pressure will keep it down, you just have to worry about side to side movement so it doesn’t require a lot of glue to keep it in place.
Josef
Nice looking guitar!
Mike Hudson
Cheers. I should probably get some better pictures of the final thing.